LaTeX is an essential typesetting language for scientific papers and presentations. In this blog post I will explain how to install a complete LaTeX environment on your mac based on MacTex, Eclipse and TeXlipse. These components form a very powerful IDE for writing documents with LaTeX.
Installing a LaTeX distribution
The recommended LaTeX distribution to install on OS X is MacTex. Just follow the link, download the (very large!) installation bundle and execute it.
Installing Eclipse
Eclipse is a very powerful software platform, allowing to install plugins in order to assemble a flexible and powerful IDE. Download Eclipse (Version for Java Developers) here for your appropriate processor architecture. Unpack the file and execute Eclipse.app inside the unpacked folder.
If you are running Mountain Lion and get a system message that “Eclipse can not be executed because the developer is not verified”, unlock the App by starting a Terminal window and typing the following command:
xattr -d com.apple.quarantine /Applications/eclipse/Eclipse.app
Of course, you have to change the path to your custom location.
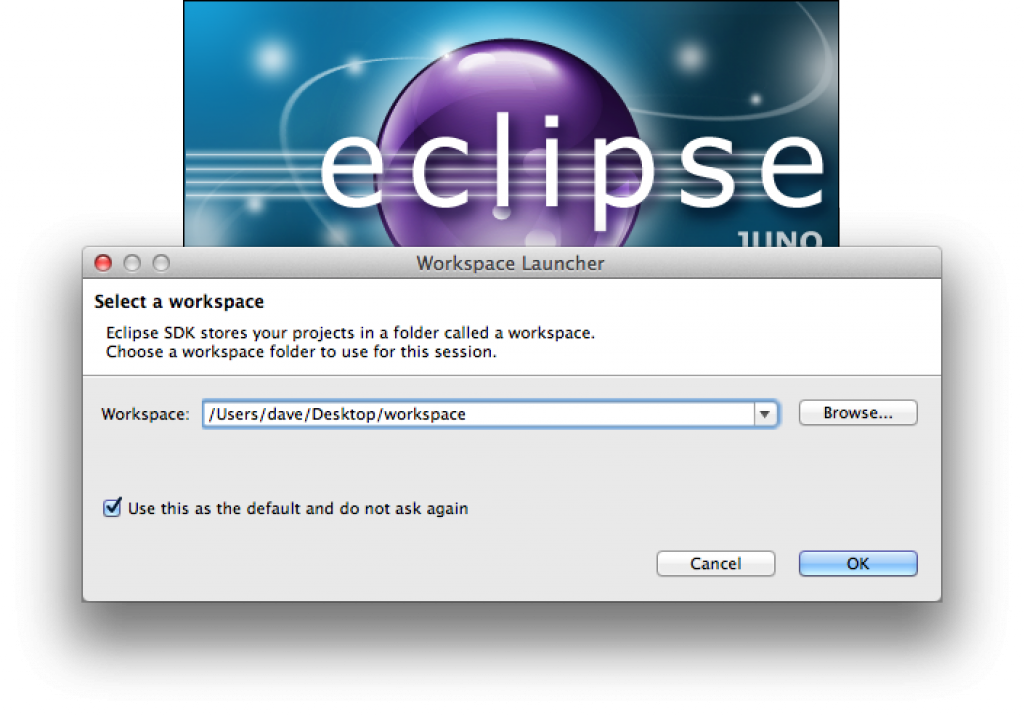
When Eclipse is started for the first time, it will ask you for a “workspace location”. This is a folder on your hard disk where your projects and files that are edited in Eclipse are stored. Choose an appropriate location of your choice and select “use this as default and do not ask again“.
On the first start, a welcome screen will appear, which you can simply close.
Installing TeXlipse (Option A – via Eclipse Marketplace)
To install the LaTeX plugin for Eclipse named TeXlipse, you simply go to Help -> Eclipse Marketplace.

Wait until the list is loaded and type texlipse into the search field. TeXlipse will be listed as first option in the list. Click the Install button.

In the following dialog, click Next, read and accept the license and then click Finish. If you get a security warning saying that “you are trying to install software with unsigned content”, click OK. After the installation you’ll be asked to restart Eclipse, which you confirm with Yes.
Installing TeXlipse (Option B – Update Site)
If for some reason the menu item Eclipse Marketplace is missing, you can also install TeXlipse via Help -> Install new Software. In that case, you need to provide an Update Site, which is http://texlipse.sourceforge.net/.
Configuring TeXlipse
After the successful installation, TeXlipse needs some configuration. Therefore, go to Eclipse -> Preferences (Shortcut: Cmd + ,).

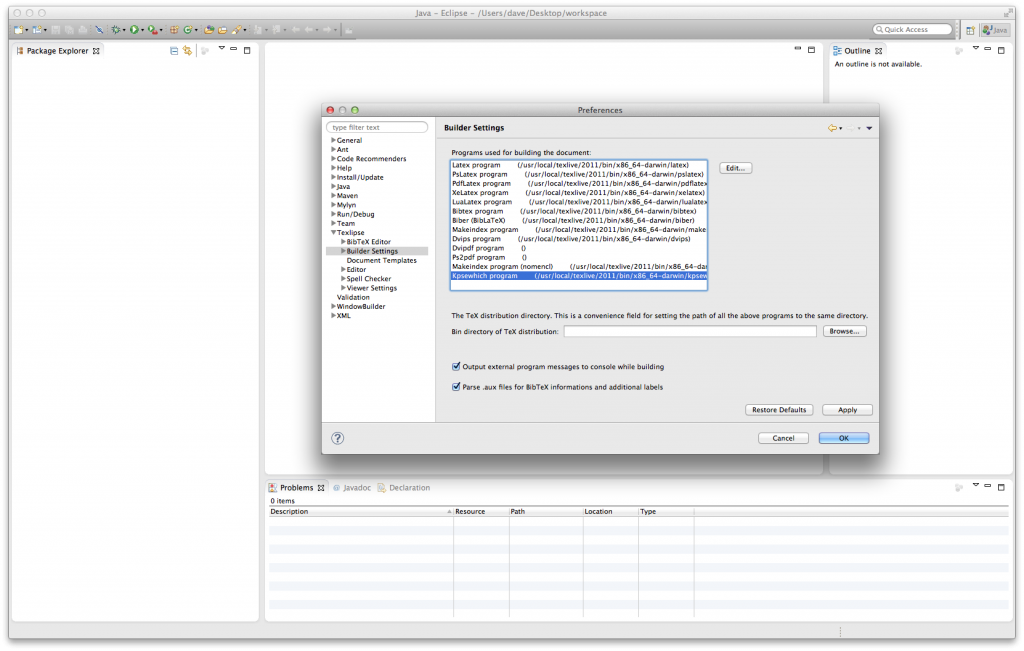
In the preferences, go to TeXlipse -> Builder Settings. Here the paths to the MacTex binaries have to be set.
To set all paths simultaneously, click on the Browse… button and choose your LaTeX executable folder. On my system (64 bit), the path is
/usr/local/texlive/2011/bin/x86_64-darwin
On 32 bit systems, the path should be similar to
/usr/local/texlive/2011/bin/universal-darwin
After the path is selected, hit the Apply button. Now almost all executable paths should be configured (see screenshot).
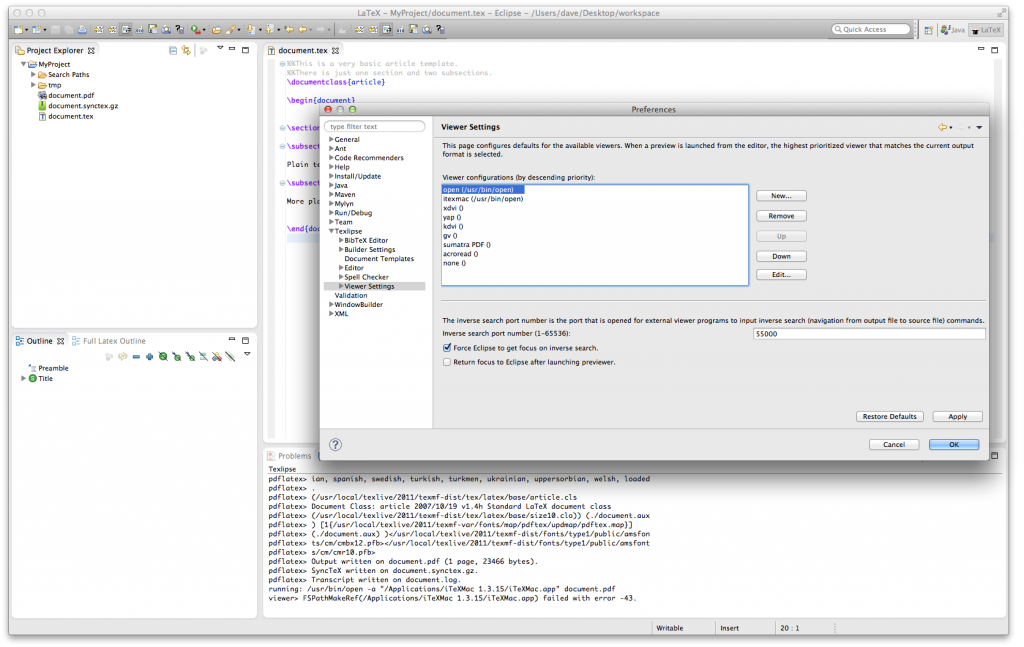
Next, you have to configure a PDF viewer. Go to TeXlipse -> Viewer settings -> New… and add the values shown in the screenshot (Name: open, Command: /user/bin/open, Arguments: %file).
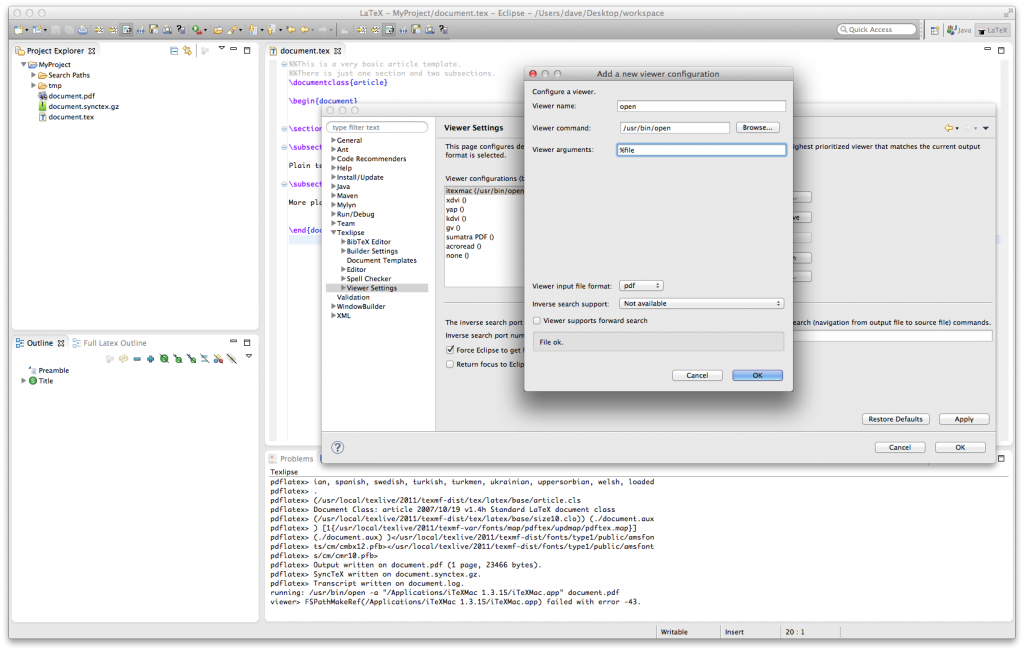
Move your configuration up in the list.
Creating a LaTeX project
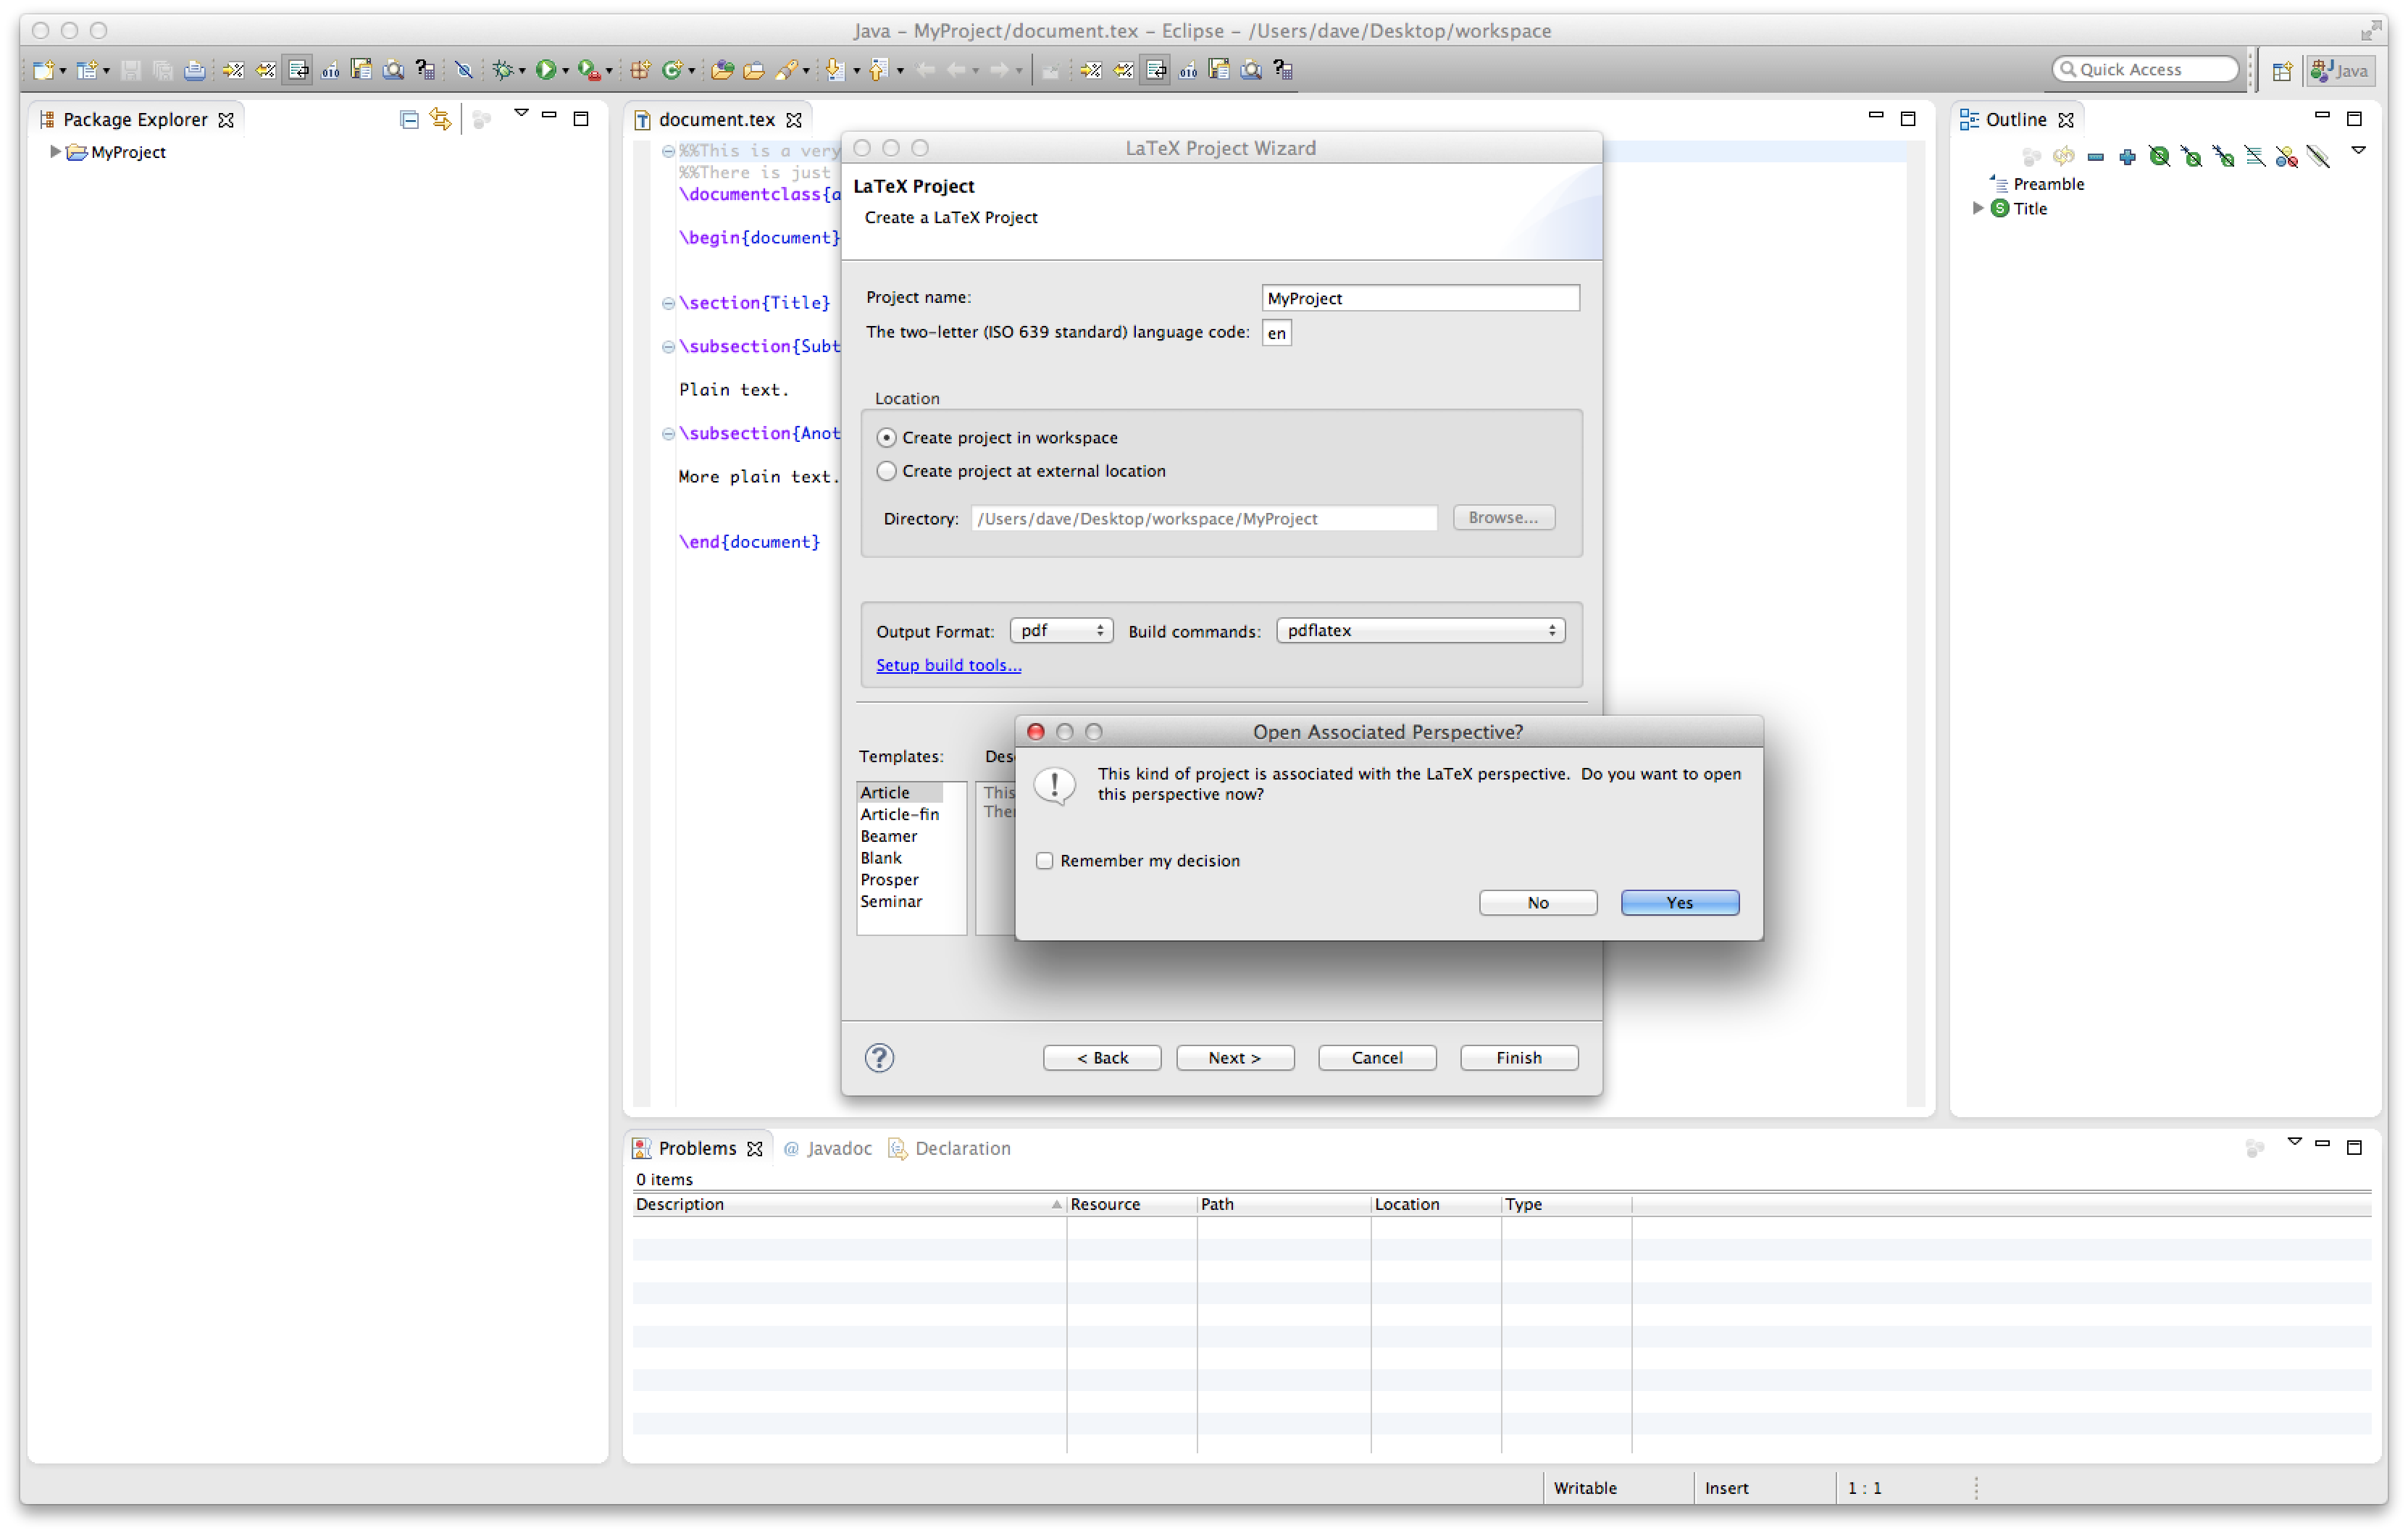
To create your first LaTeX project, right click inside the Package Explorer (on the left) and choose New -> Project… and in the dialog select TeXlipse -> LaTeX Project. On the next screen, enter a project name and the language code and choose the output format pdf. The builds commands should automatically switch to pdflatex. The article template is a good starting point.

When you click Finish, Eclipse will ask you if the LaTeX perspective should be opened, which you confirm with Yes.
Building the PDF
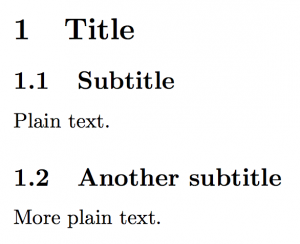
To build the PDF, simply make changes to a .tex file and save it. Eclipse will automatically trigger a PDF build on every document save action. You can view the output in the console (located at the bottom of the IDE by default). To view the PDF, use the shortcut Cmd + 4. If everything went fine, you should see a simple PDF file:
 Now you are ready to write great papers with LaTeX. Enjoy 🙂